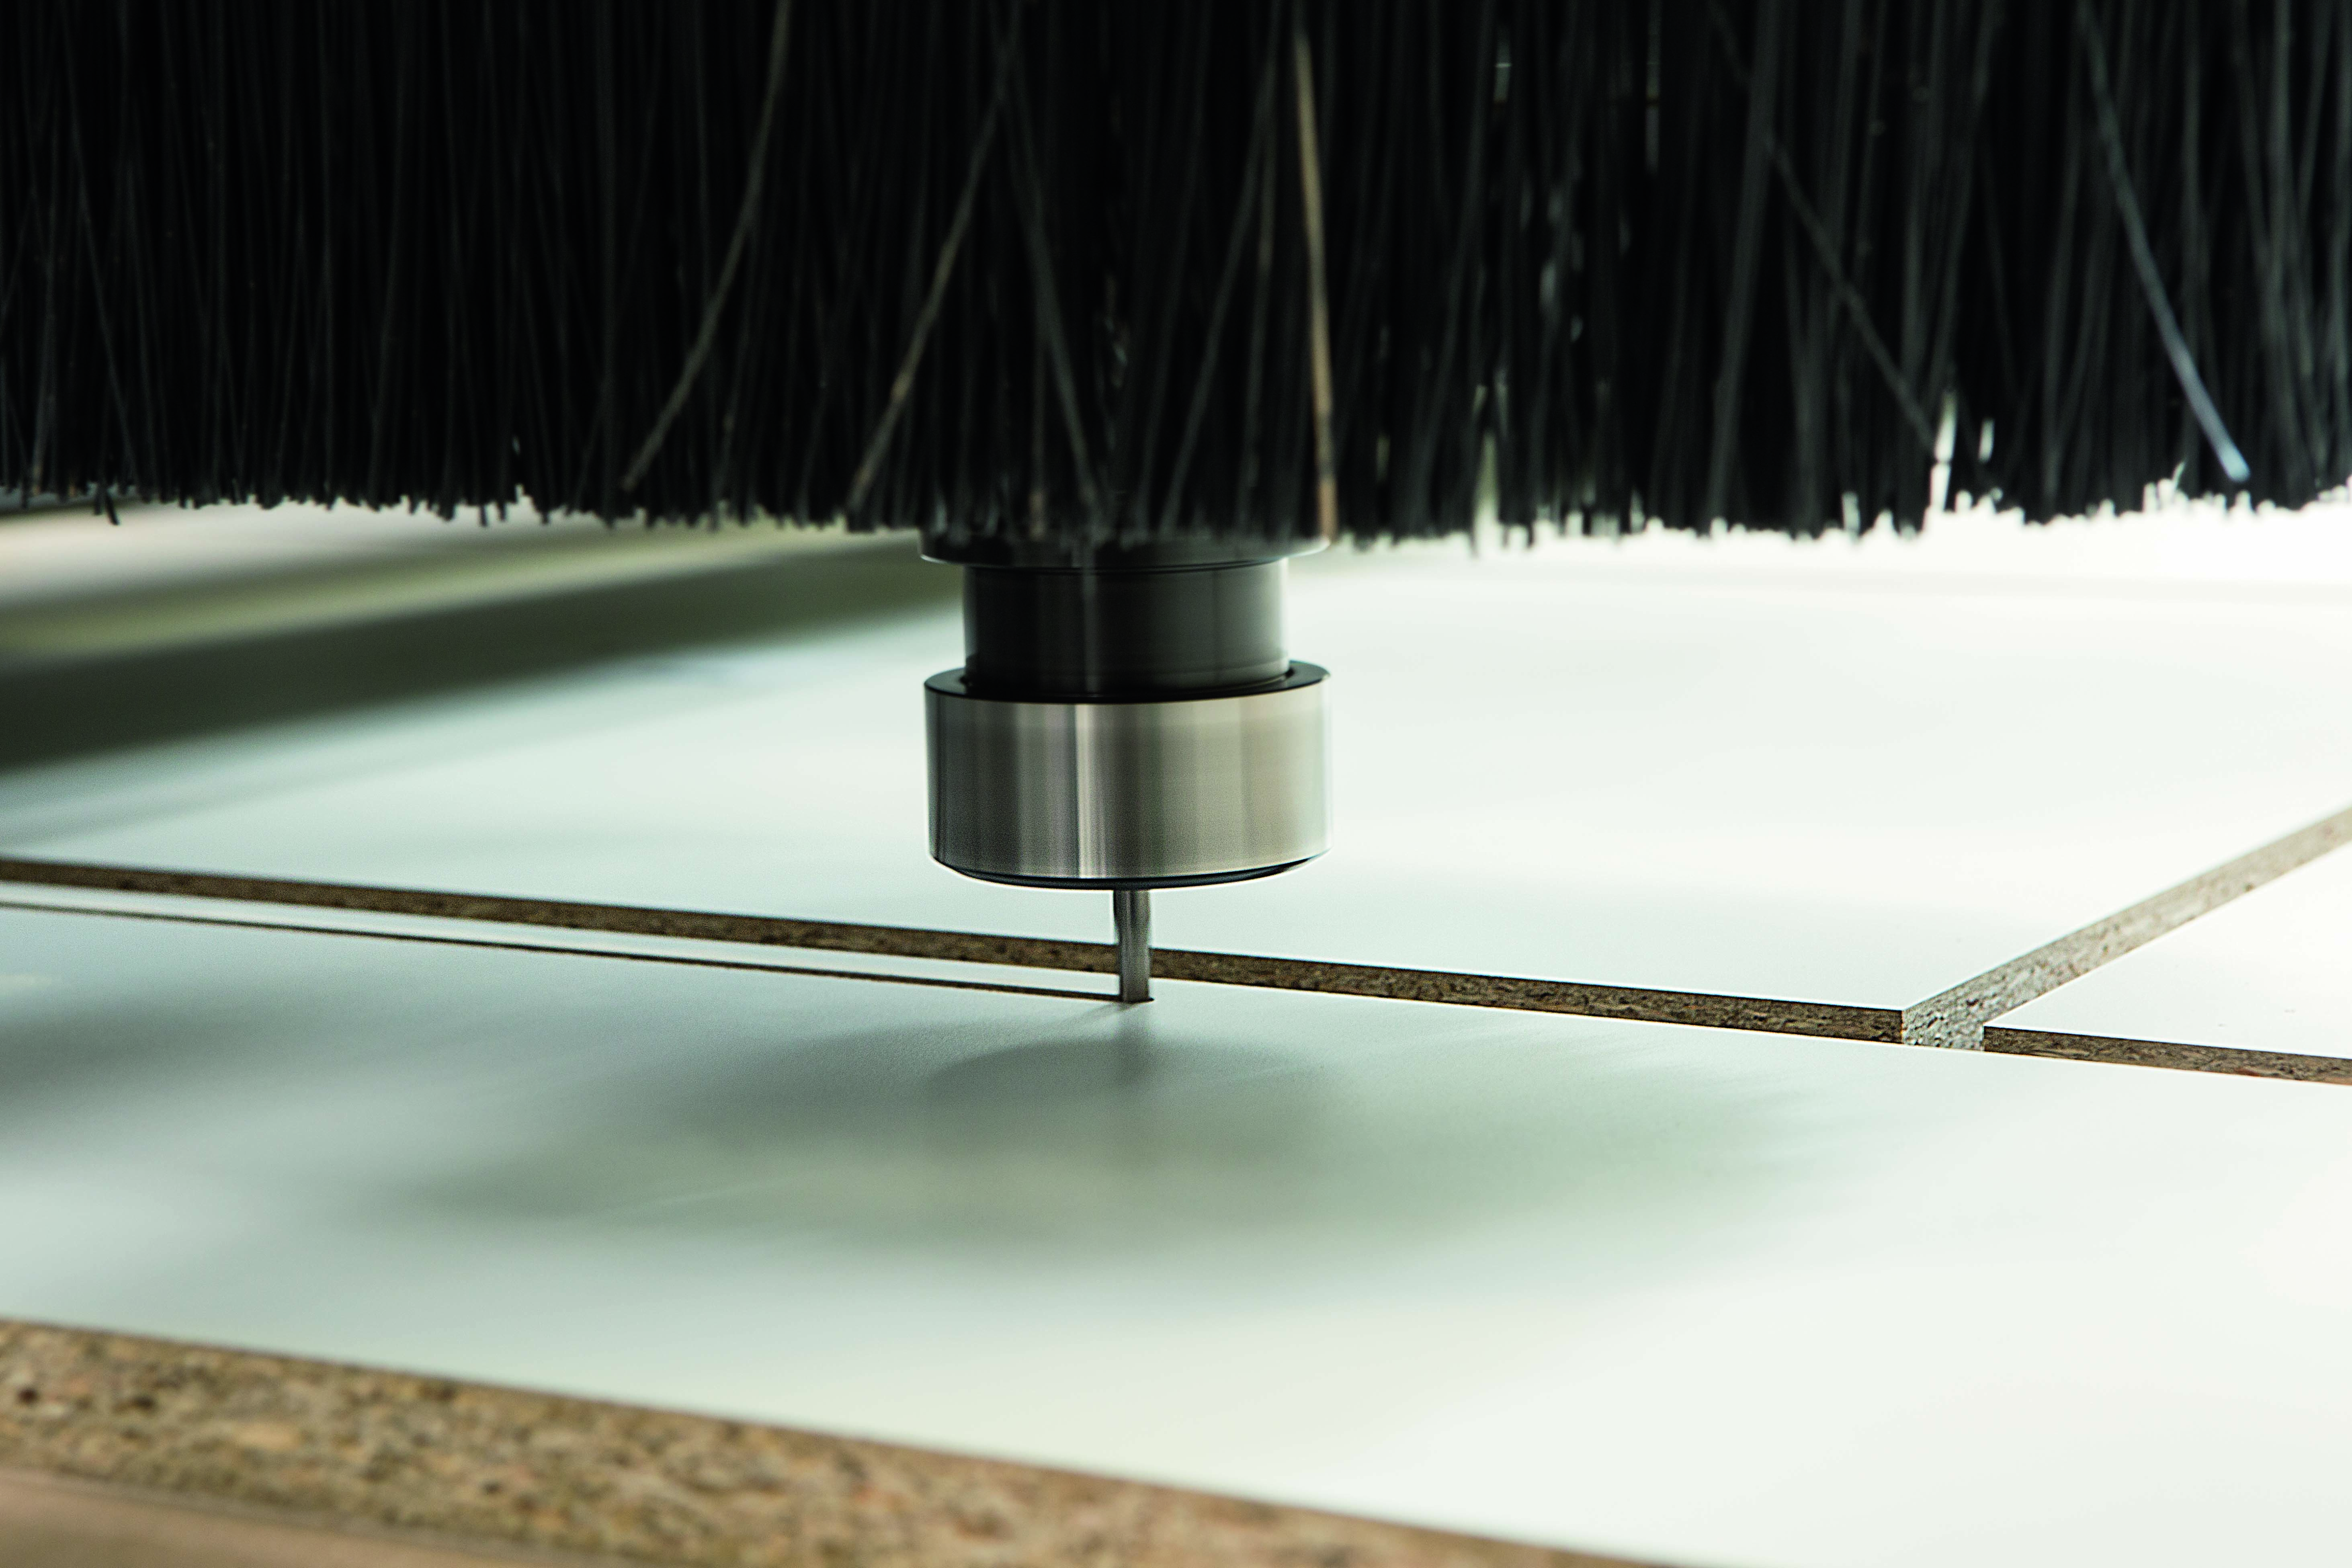
Material Nesting Best Practice: Reducing Left Over Materials
.jpeg)
Why Nesting?
When it comes to woodworking, there are a lot of different factors that need to be considered in order to ensure that the project is completed correctly and efficiently. One of the most important aspects of any project is what is known as nesting.
Nesting refers to the process of creating a space within which materials can be placed so that they fit together with minimal leftover space. This is an important process because it helps to optimize material usage and reduce leftover material.
How Does Nesting Work?
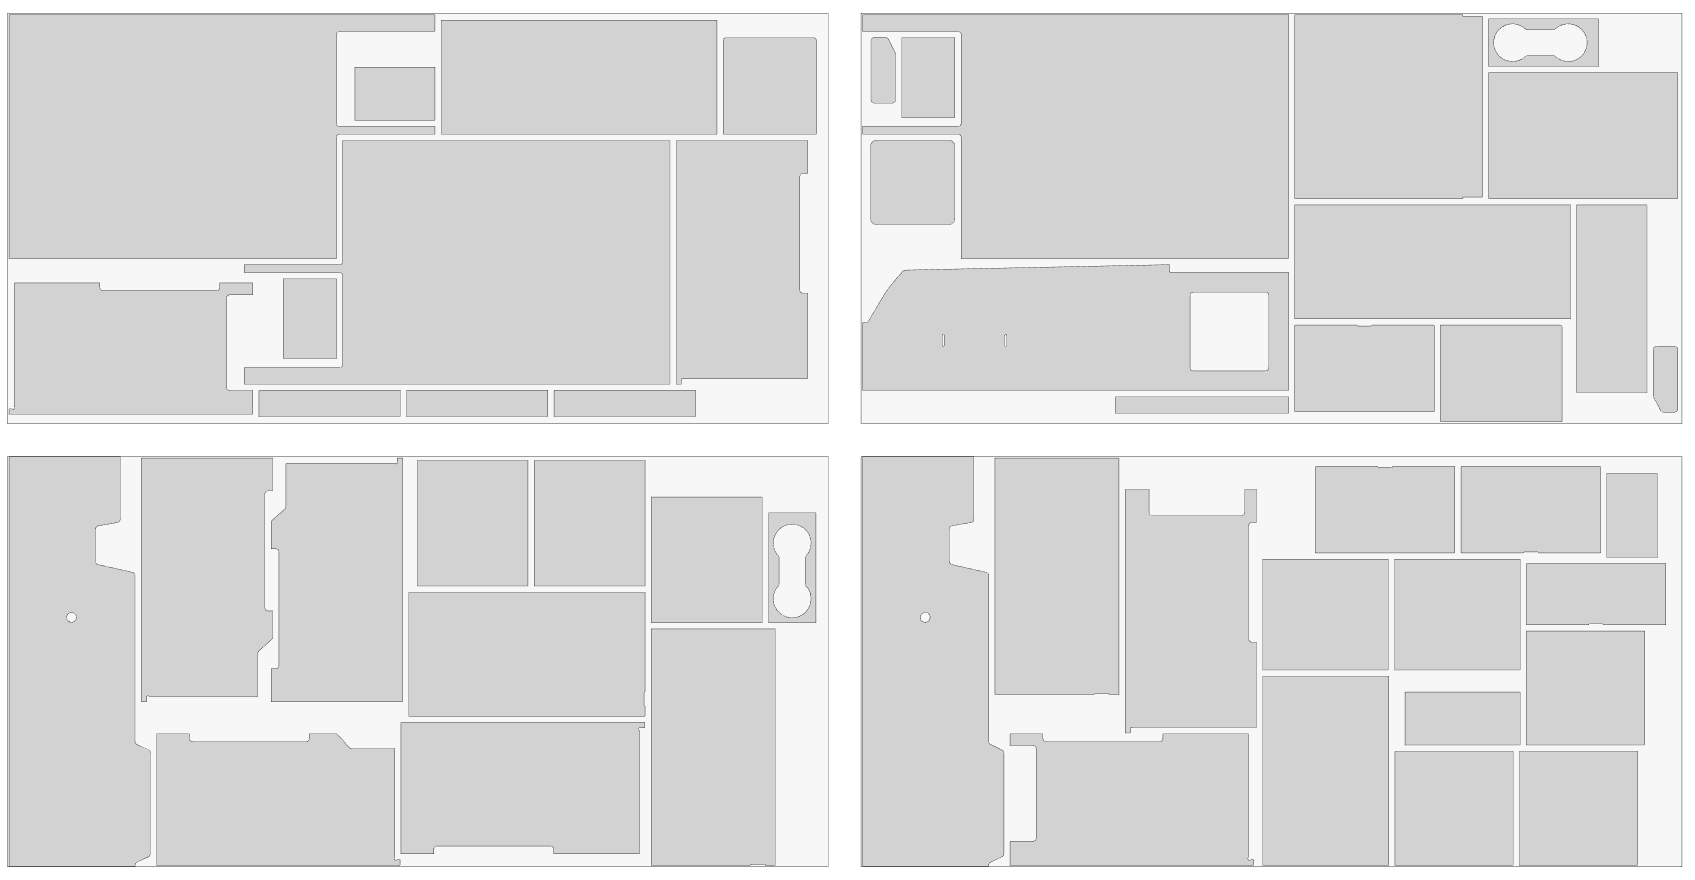
There are a few different ways that nesting can be achieved, but the most common method is by using computer software to create a three-dimensional model of the space in which the materials will be placed. This model can then be used to determine the best way to place the materials so that they fit together perfectly. Once the model has been created, it is then simply a matter of following the instructions in order to achieve perfect nesting. By taking the time to nest materials correctly, it is possible to save a considerable amount of money on your project.
You can do this in many 3D drawing programs (like Fusion360, SolidWorks, VectorWorks etc.), but when you upload your design file and request a quote, the Cutr platform also nests your parts to see how many sheets of material you need. You can find these nesting results under the ‘Materials’ tab on the platform.
What to Consider When Nesting?
Material waste is one of the most costly inefficiencies in the wood industry. There are a number of ways to optimize material usage and reduce leftover material on a woodworking project:
- Sheet size: Review the sheet size of the material you want to use upfront to see if your parts fit on the sheet and how much space you have left.
- Orientation: Consider the orientation of your parts in relation to one another. You want to be sure that you place your parts in a way that as many pieces fit onto a sheet.
- Spacing: Make sure you leave space on the sides and in between your parts for the milling tool. Generally Cutr keeps 19mm in between parts and 5mm on the sides. It is possible to reduce the space between parts but then you need to use a smaller drill diameter which can't run as fast as a larger drill diameter. So the saved space in material (cost) is offset by the cost of running the machine for longer. The 5mm on the sides is because a sheet of wood isn't always exactly square, so it's similar to the bleed space when you are preparing a file for printing.
Optimize Your Nesting Results
What if your nesting results are not optimized yet and you have a lot of leftover material? There are several options to resolve this:
- Add parts to fill up your sheet: If you see that you have material left, consider adding more parts to your design. The material price will stay the same, so your price per piece will go down.
- Check out different sheet sizes: Many materials come in different sheet sizes. Ask Cutr or check online which other sizes of the same material are available.
- Use a smaller drill bit: If your project almost fits on one (or multiple) sheet(s), check if using a smaller milling tool will change a lot to the material usage.
Do you want to have less space between parts, because you pre-nested and found an optimal way to cut your parts? Please leave a comment in the ‘Notes’ section indicating the tool diameter that needs to be used.
Conclusion
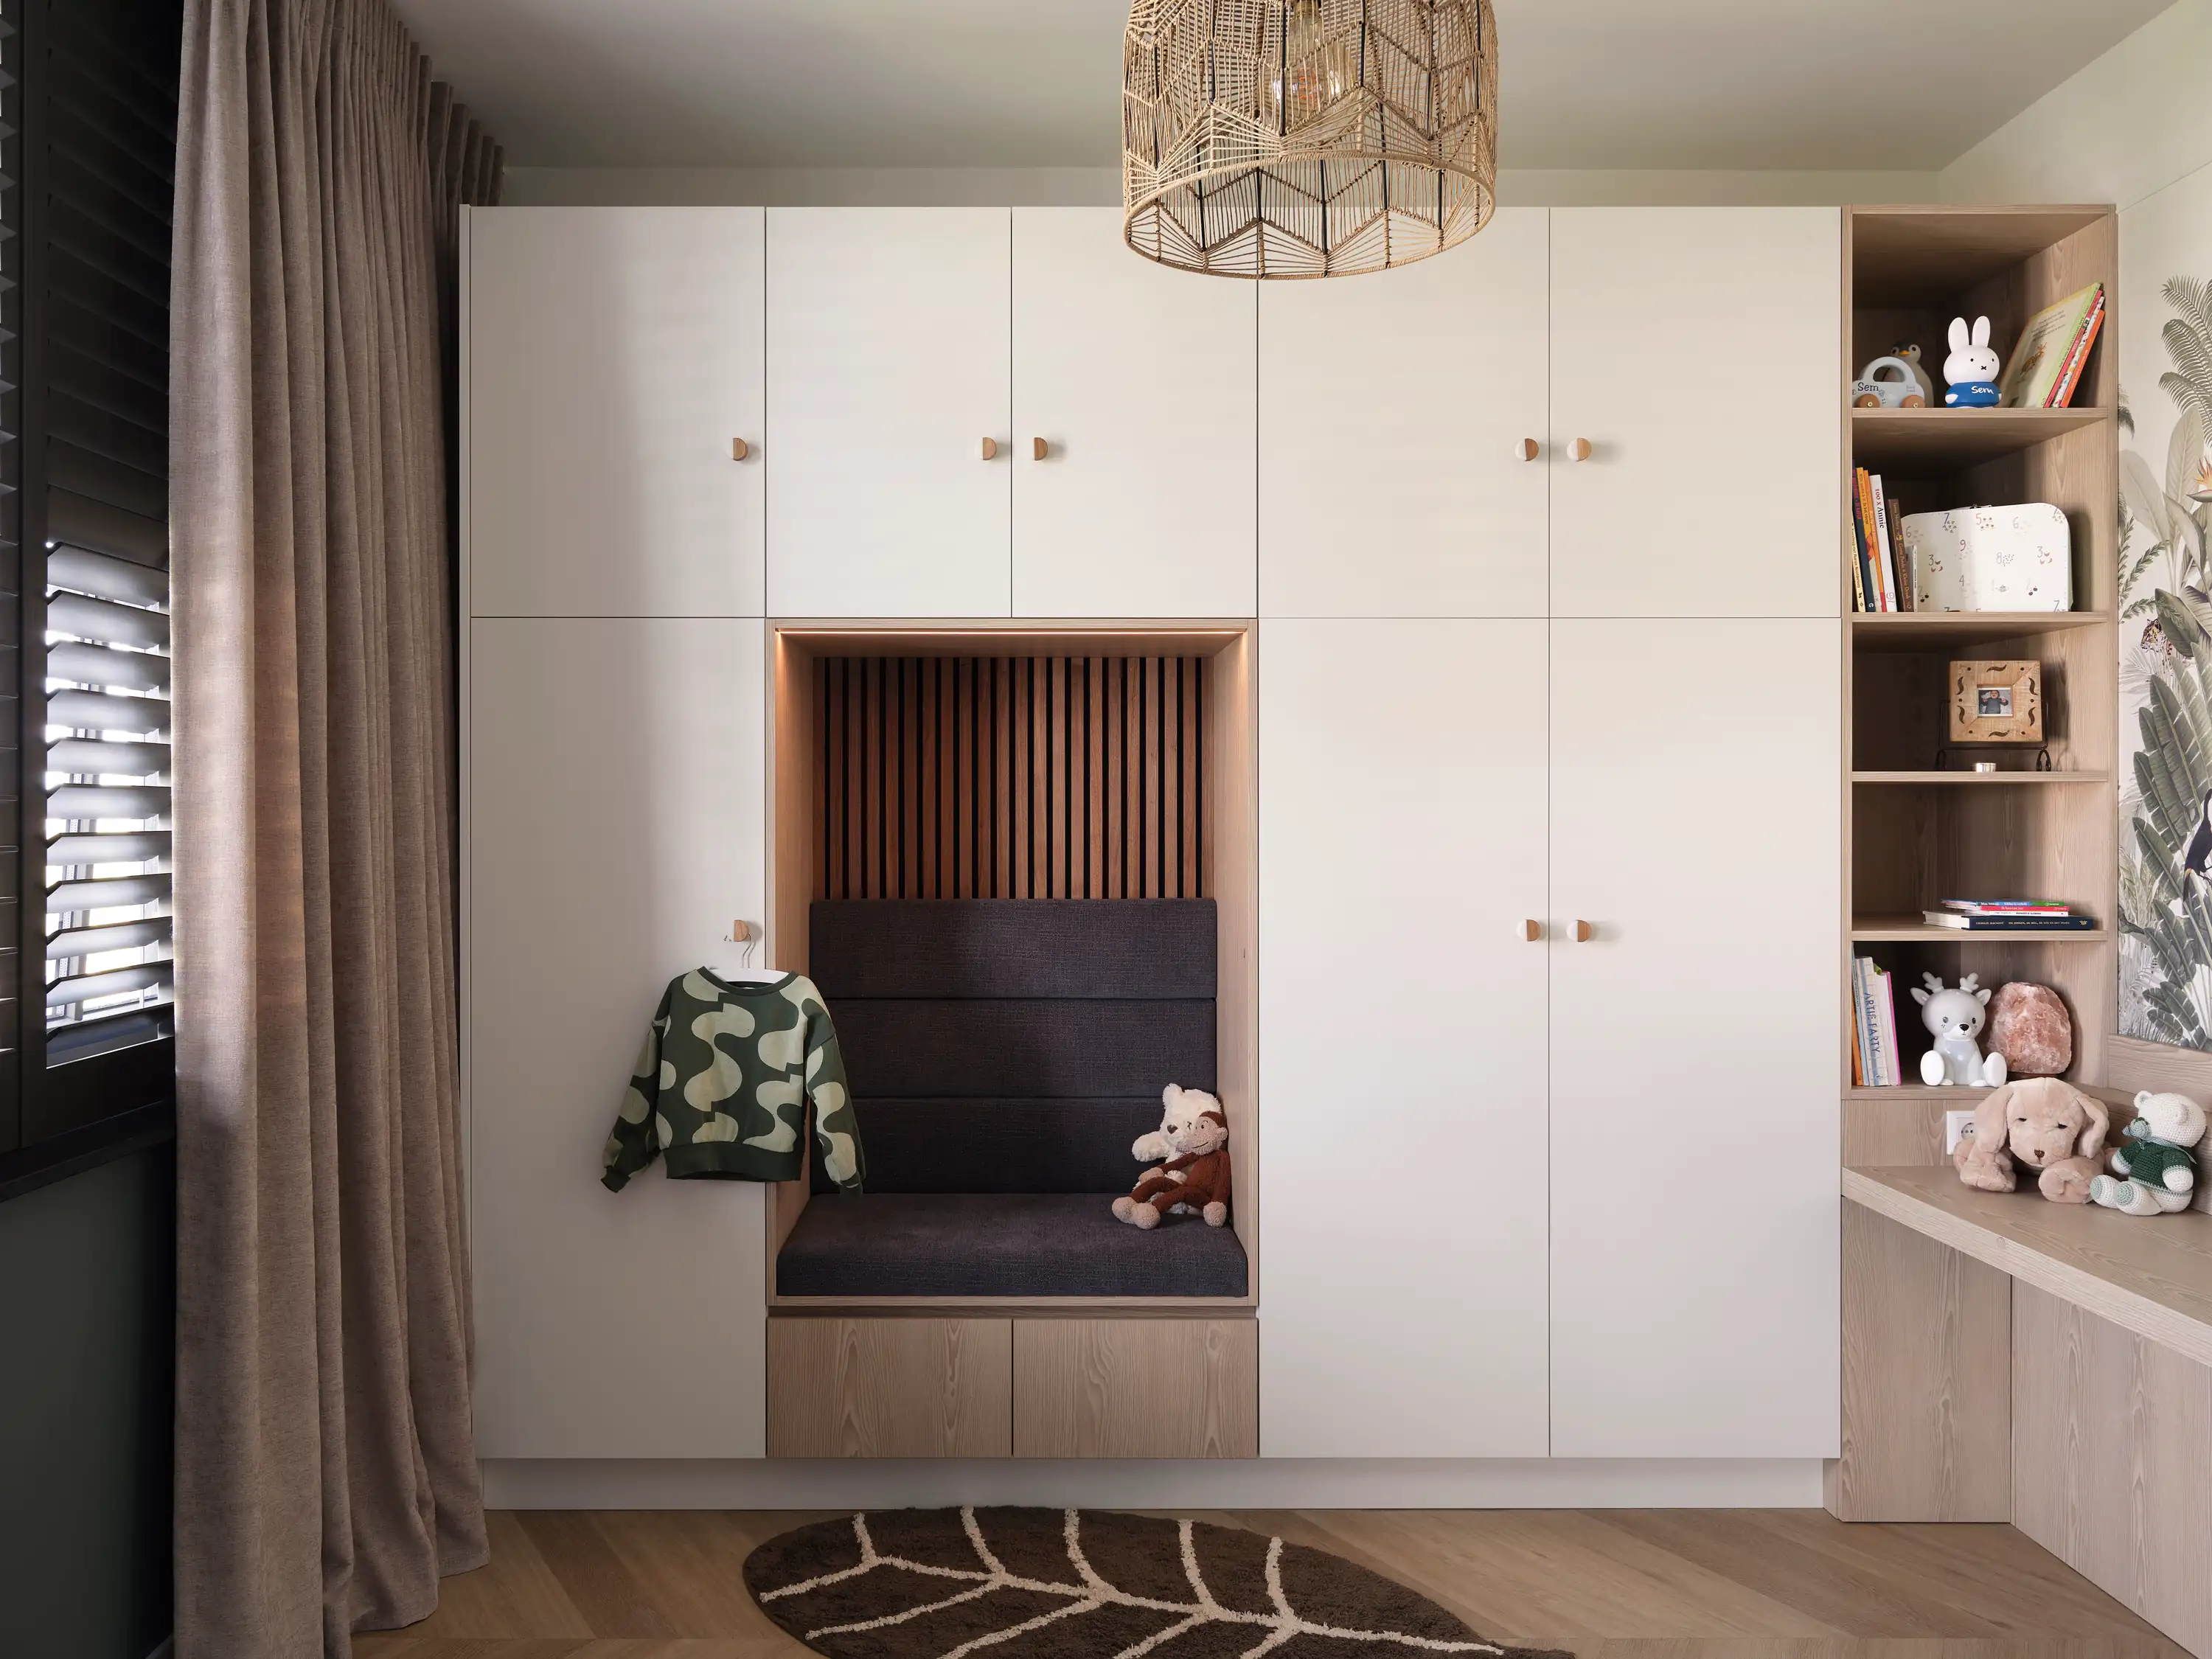
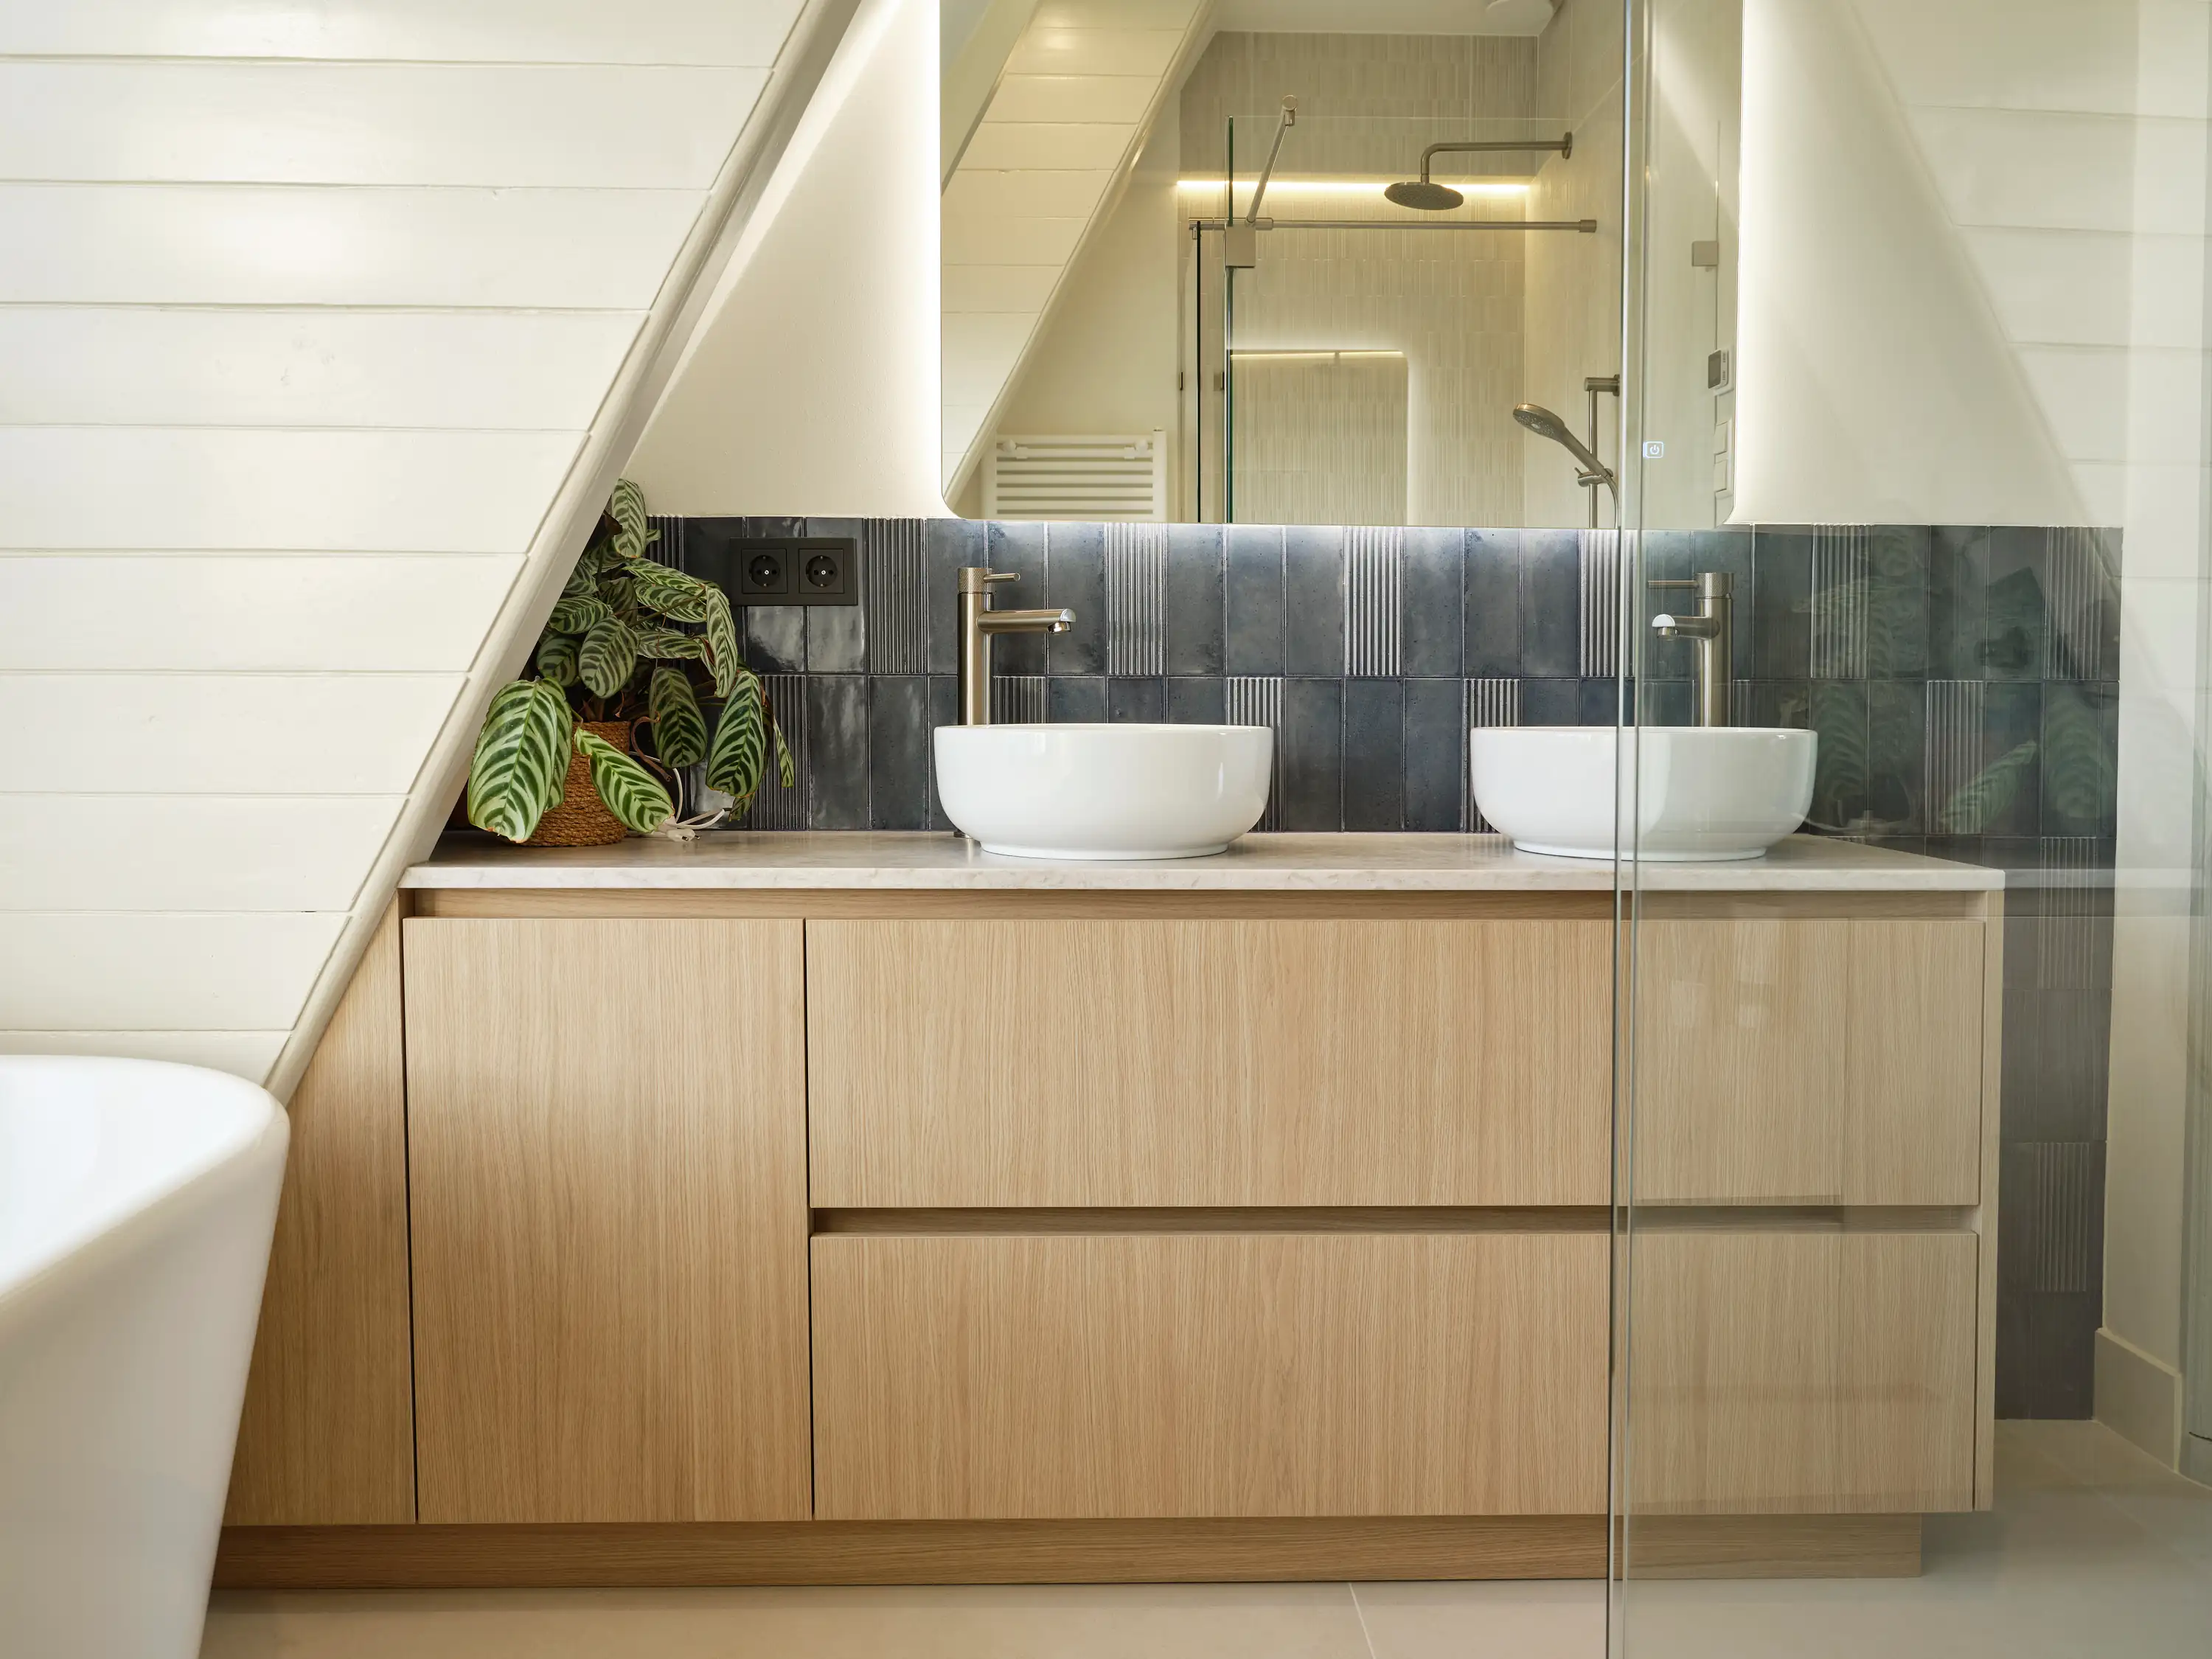
The benefits of nesting are clear: optimized material usage, reduced leftovers, and increased production efficiency. However, it's important to remember that nesting is just one tool in your optimization arsenal. There are a variety of other best practices that can be employed to further improve material usage, reduce waste and save costs. By utilizing a combination of these techniques, you can create an even more lean and efficient manufacturing process.
Related articles:
Reducing the cost of your CNC project
Upload your design file and get a quote
within days
Quality production with trusted production network.

%20(1).webp)
.webp)


.webp)